> ## Documentation Index
> Fetch the complete documentation index at: https://docs.spexcompl.ai/llms.txt
> Use this file to discover all available pages before exploring further.
# Create a new project
> Set up a compliance project by uploading your RFP, datasheets, and defining the Bill of Materials.
Every compliance evaluation begins with creating a project. A project groups together the RFP specification file, product datasheets, selected models, and compliance results.
## Start a new project
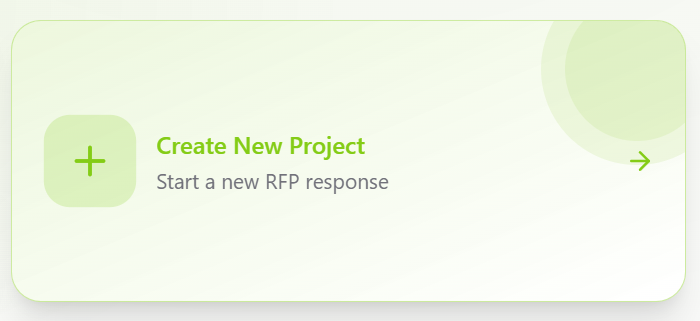
From the Dashboard, click **Create New Project**.
 Enter your project details:
* **Project Name** — a descriptive name to identify the project
* **Deadline** — optional, but recommended for tracking
Enter your project details:
* **Project Name** — a descriptive name to identify the project
* **Deadline** — optional, but recommended for tracking
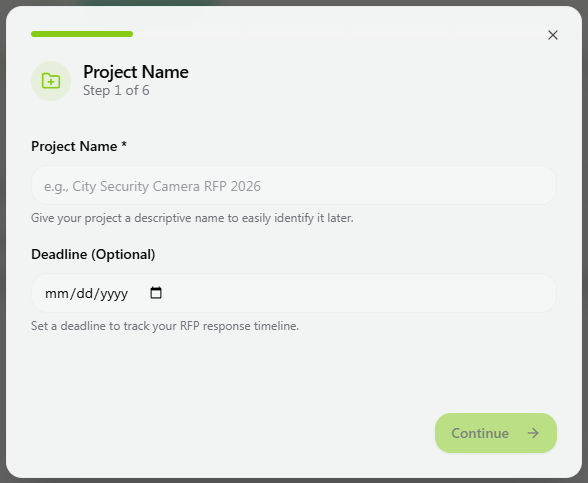 Click **Continue** to proceed.
## Upload the RFP document
Upload the complete RFP file in PDF format.
Click **Continue** to proceed.
## Upload the RFP document
Upload the complete RFP file in PDF format.
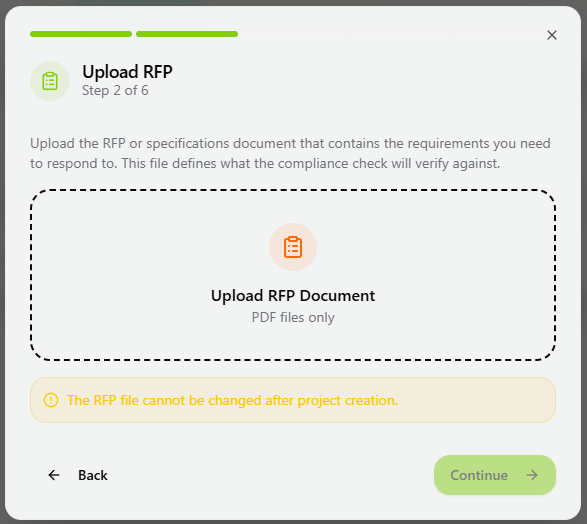 Once uploaded, the system automatically begins extracting structured requirements, preserving:
* Parts
* Sections
* Subsections
* Clause numbering
This structure appears later in the RFP Viewer.
If the RFP is scanned, OCR processing is applied automatically.
Click **Continue** once the upload is complete.
## Upload product datasheets
Upload all relevant product datasheets for the equipment you intend to propose. You may upload multiple datasheets at once.
Once uploaded, the system automatically begins extracting structured requirements, preserving:
* Parts
* Sections
* Subsections
* Clause numbering
This structure appears later in the RFP Viewer.
If the RFP is scanned, OCR processing is applied automatically.
Click **Continue** once the upload is complete.
## Upload product datasheets
Upload all relevant product datasheets for the equipment you intend to propose. You may upload multiple datasheets at once.
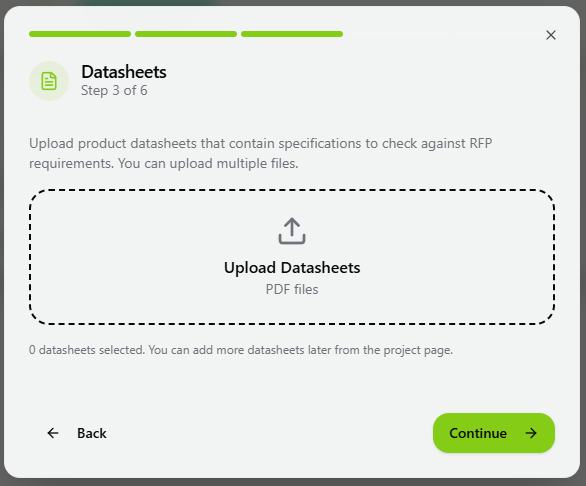 Datasheets must correspond to the actual product models you plan to submit. If a datasheet includes multiple variants, you will specify the exact model later in the [Scope configuration step](/how-to-guide/configure-scope).
Click **Continue** after uploading.
## Define the Bill of Materials (BoM)
The Bill of Materials represents the product models you are planning to propose. It defines which specific models the system should check for compliance.
Datasheets must correspond to the actual product models you plan to submit. If a datasheet includes multiple variants, you will specify the exact model later in the [Scope configuration step](/how-to-guide/configure-scope).
Click **Continue** after uploading.
## Define the Bill of Materials (BoM)
The Bill of Materials represents the product models you are planning to propose. It defines which specific models the system should check for compliance.
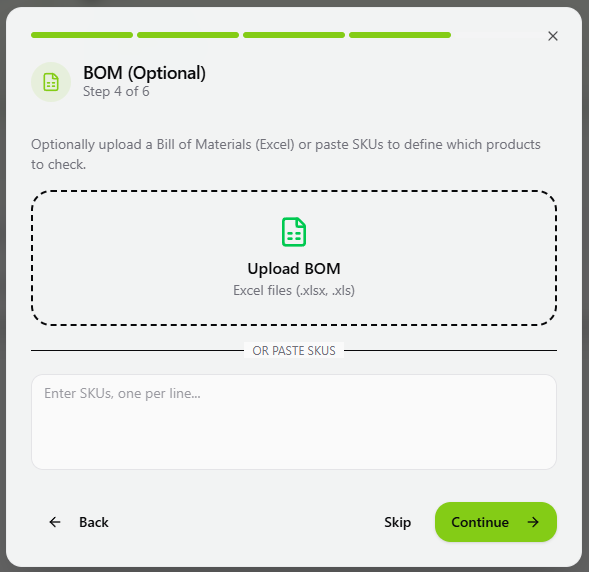 You can define the BoM in one of three ways:
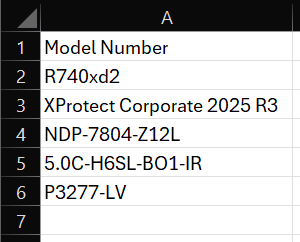
Upload a BoM file in Excel format. The file must contain a column clearly identifying product models, such as:
* SKU
* Model / Models
* Part Number
* Item Number
The system automatically detects models listed under that column.
You can define the BoM in one of three ways:
Upload a BoM file in Excel format. The file must contain a column clearly identifying product models, such as:
* SKU
* Model / Models
* Part Number
* Item Number
The system automatically detects models listed under that column.
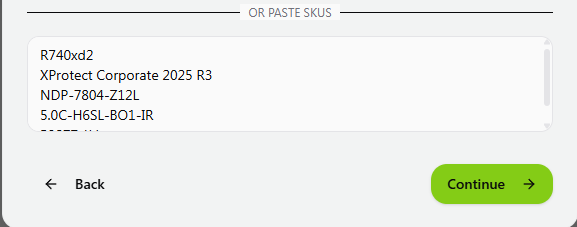
 Paste product models directly into the BoM input box, one model per line. This method works well for smaller projects or when an Excel file is not available.
 You may skip BoM definition during project creation. In this case, you must manually link each product model to its corresponding datasheet from the **Scope** tab before running compliance.
See [Add or correct SKUs manually](/how-to-guide/configure-scope#add-or-correct-skus-manually) for details.
### Important note on BoM
Compliance should not be executed until all intended product models are properly defined and linked. Defining the BoM ensures that:
* The correct datasheets are used
* The correct product variants are evaluated
* Compliance results reflect the intended proposal
## Project created
Your project is now created. The RFP is processed and structured, datasheets are ingested, and the project workspace is ready.
Next, [review the extracted requirements](/how-to-guide/review-requirements) before configuring Scope and running compliance.
You may skip BoM definition during project creation. In this case, you must manually link each product model to its corresponding datasheet from the **Scope** tab before running compliance.
See [Add or correct SKUs manually](/how-to-guide/configure-scope#add-or-correct-skus-manually) for details.
### Important note on BoM
Compliance should not be executed until all intended product models are properly defined and linked. Defining the BoM ensures that:
* The correct datasheets are used
* The correct product variants are evaluated
* Compliance results reflect the intended proposal
## Project created
Your project is now created. The RFP is processed and structured, datasheets are ingested, and the project workspace is ready.
Next, [review the extracted requirements](/how-to-guide/review-requirements) before configuring Scope and running compliance.